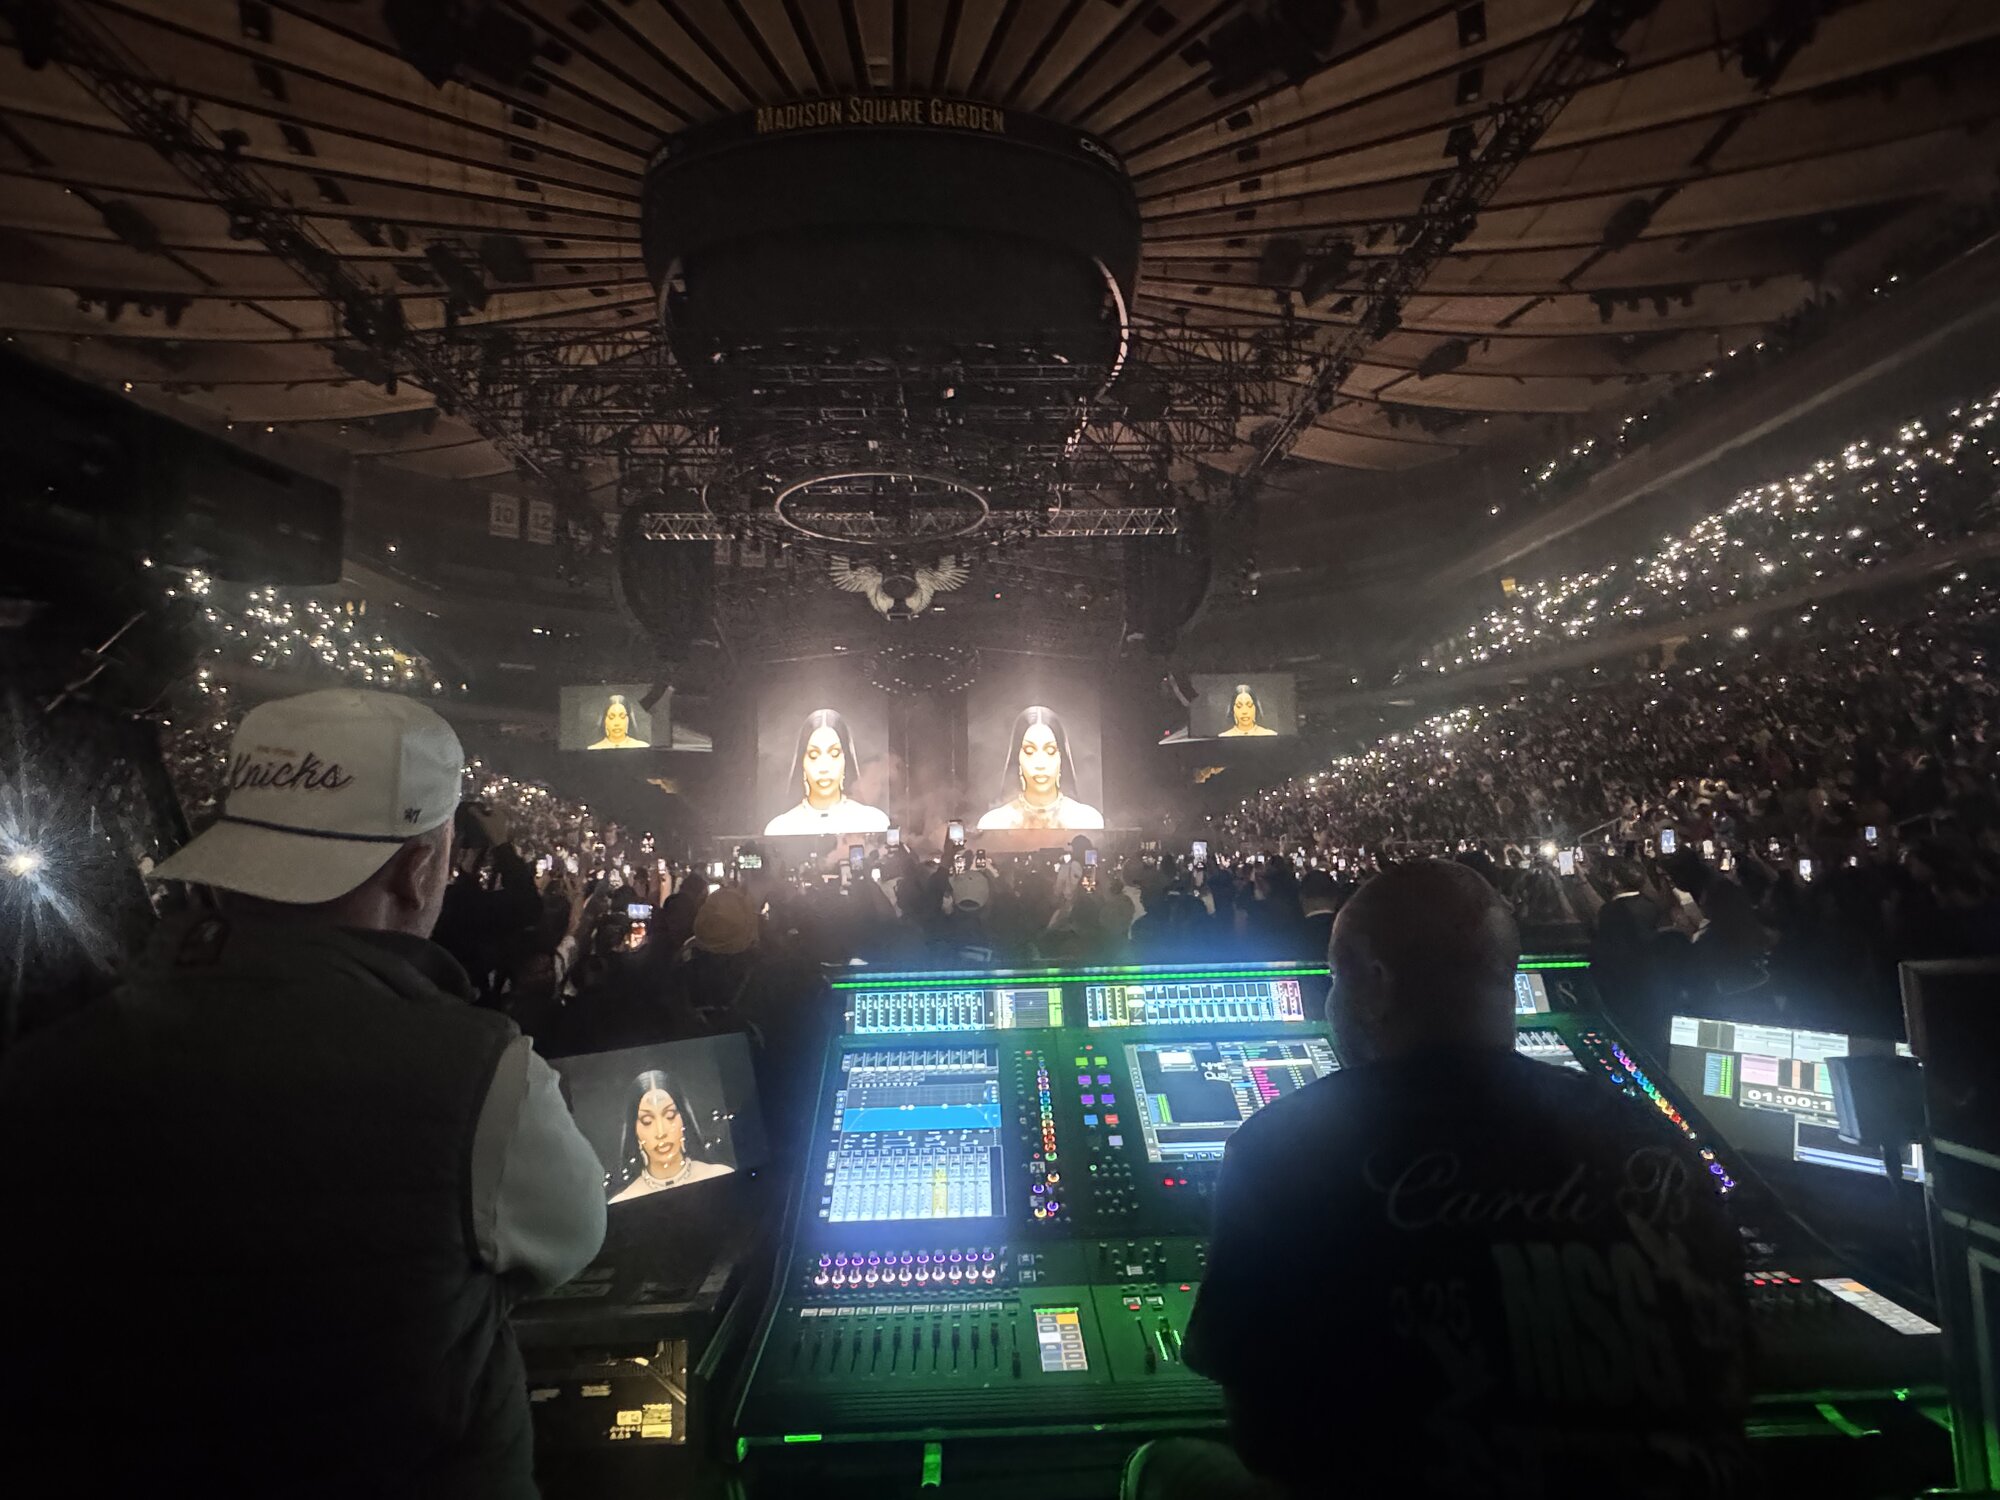
In-Venue
Setup Guide.
DRAFT v0.11 — FOR FOUNDER REVIEW
Artist / Client Setup
Your Artist, Client, Manager, Audio Engineer, or Tour Manager must create an artist account.
This account holder is the admin of the Wimyx account.
Next, add your Audio Engineer to the account:
- 01Click Team
- 02Select Invite
- 03Add email and role
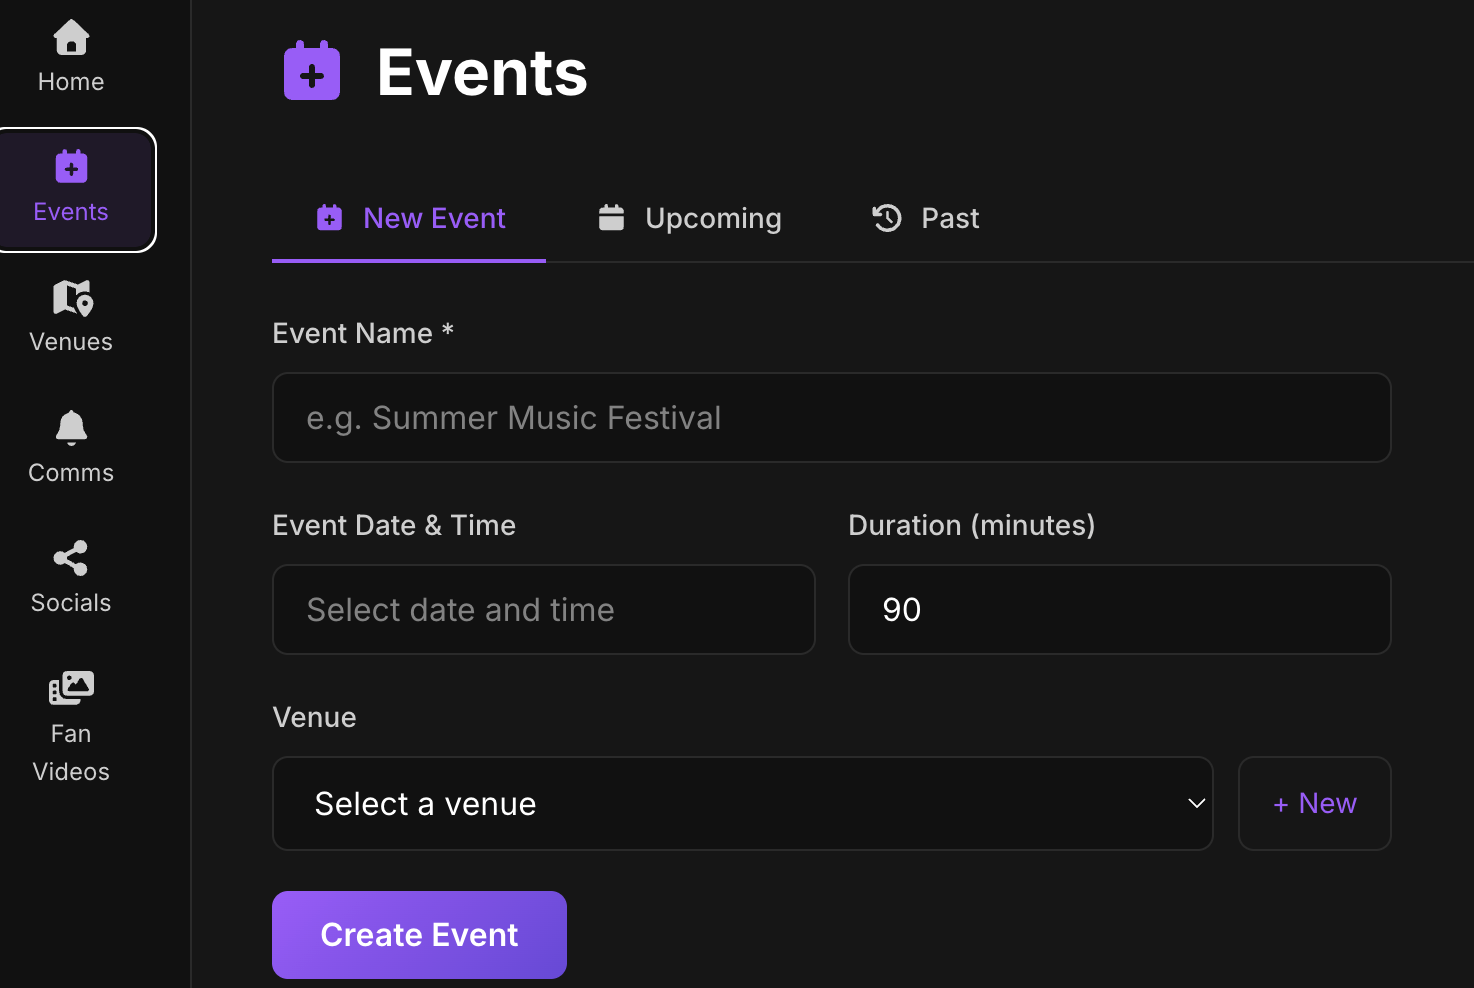
Creating an Event
To create an event, hit NEW EVENT.

- 01Event Name — appears on all mobile devices
- 02Date and Time — note AM / PM
- 03Duration — allow for longer shows than expected
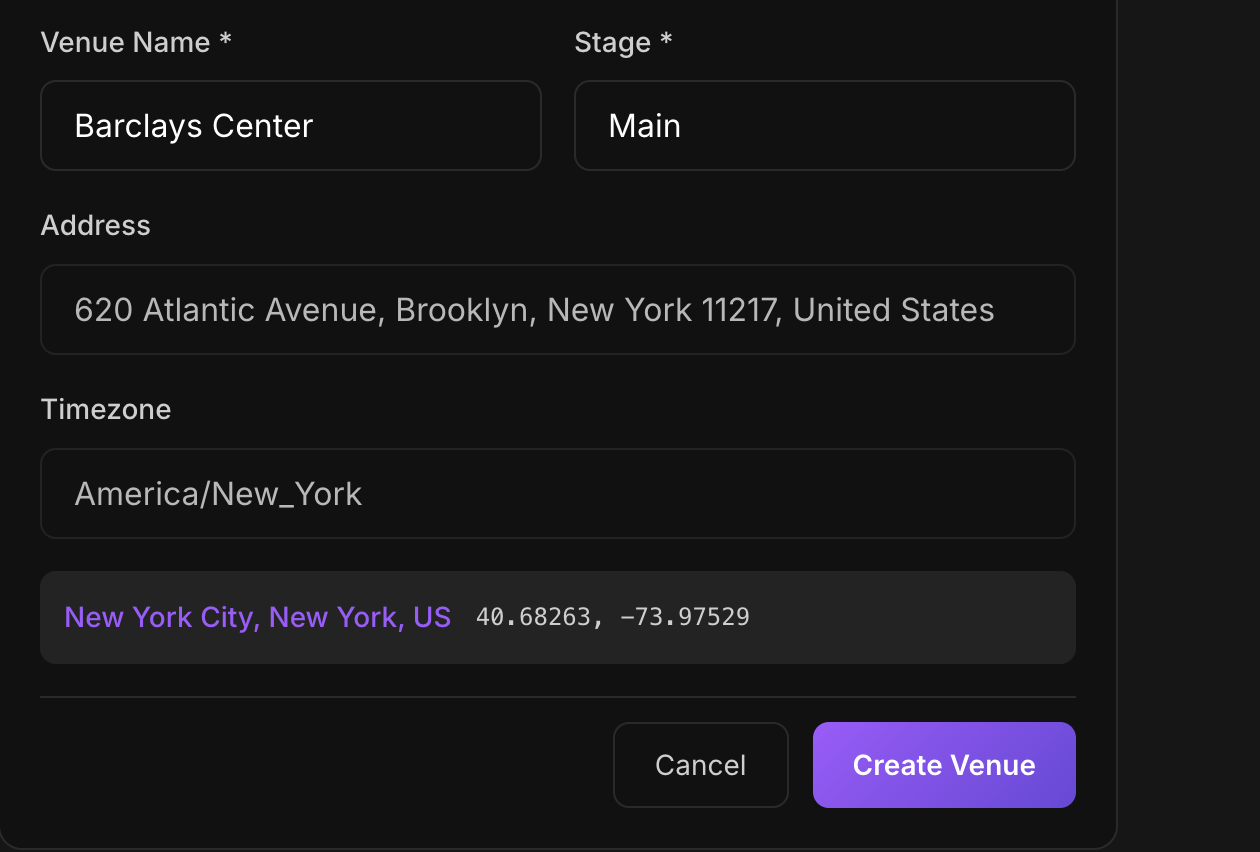
- 04Select a Venue — if the venue is not listed, use the + New button to add your venue
- 05You need the address of the venue (pull from Google Maps and copy / paste)
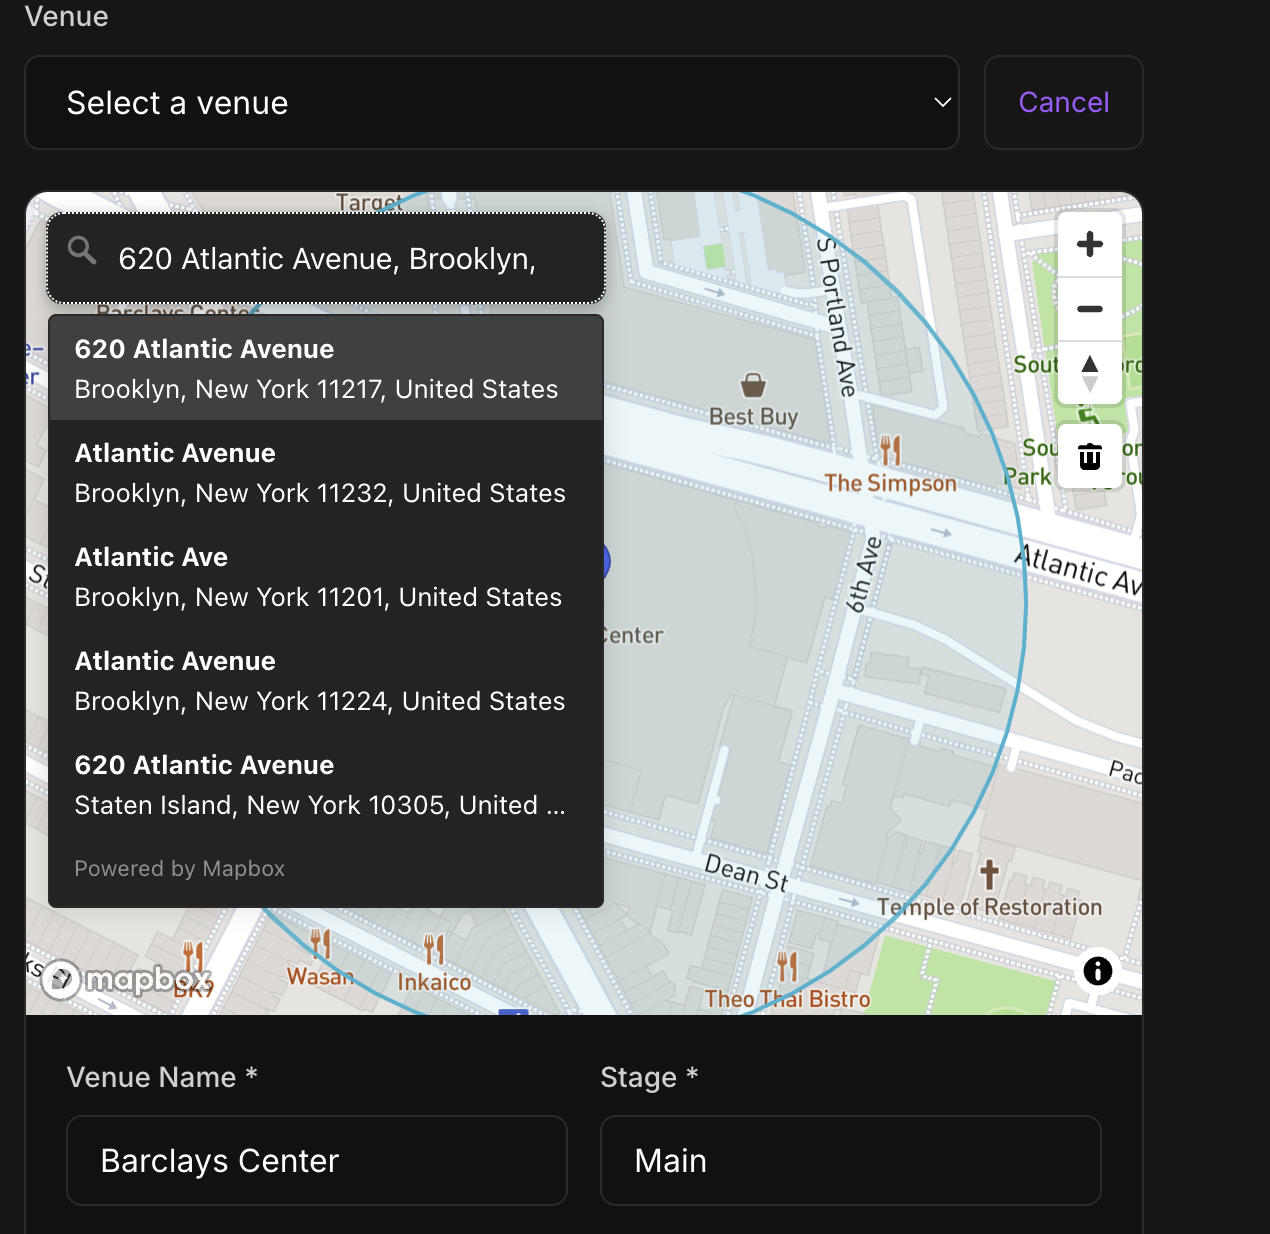
- 06If your venue isn't in the list, use the Venues tab to create the venue.
- 07Hit Create Venue — the venue is then available from the drop-down menu
Your concert code — sent to the emails and SMS numbers of all team members added and fans who check in. The code changes each night to keep the show and fan experience exclusive to that night. ⚑ FLAG

Configure Tour Branding for Mobile Experience
Set up the visual identity that fans will see in the Wimyx mobile app during the tour. This branding appears on every fan device for each event on the tour.
- 01Upload tour artwork — appears as the event cover on all mobile devices

- 02Add artist name and style / genre tags
- 03Set the color treatment to match the tour aesthetic
- 04Confirm the branding preview on a phone before going live
Before You Go Live
You must have the Wimyx mOS Streamer.
- 01Download the Wimyx mOS Streamer from the App Store if you haven't already.
- 02Confirm with the Tour Manager or Production Manager that the venue has internet access.
- 03A hardwired Ethernet connection is preferred. Wi-Fi to a stable private network also works. If neither is available, tether to a mobile hotspot (your phone) as a last resort.
In-Venue Extended
Network Test
- 01On your Mac laptop, connect to the venue network.
- 02Run a speed test — aim for at least 50 Mbps up. Slower speeds work but are not ideal.
- 03Disable AirDrop.
Audio Hardware Connection
On site, in your mix position (or wherever the internet hand-off occurs), where the stereo feed is connected to the Stream Computer (your Mac):
On your Apple laptop running the Streamer:
- 01Connect the audio interface, network adapter, venue Ethernet, and power supply.
- 02Make sure every device is powered on and stable.
Connect and Launch the Mac Os Software for Your Audio Console
- 01Patch the Stereo Audio Mix (feed from FOH) into your interface.
- 02Open your audio console when using an analog interface.
- 03Ask the Front-of-House or broadcast engineer to send signal to the interface, and confirm that the signal is strong. Use pink noise or tone, then source material.
You may hear the noise floor. This is normal — it is necessary for optimal audio enhancement.
Launching and Setup of the Wimyx Streamer & Routing
- 01Launch the Wimyx Streamer.
- 02Log in (use the same email used for the client's account under the Team section). Without it, you cannot stream a Wimyx-activated event.
- 03From the drop-down menu, select your event. (By default, your event should appear; if not, check your internet connection.)
You (the Audio Engineer) should visually confirm the date, start time, location, and event code. The event should automatically load since it is connected to your email address.
Choose your audio interface and specify the 2 input channels — or audio path 1–64.
Ensure the input meters are active and that the Wimyx Streamer recognizes the audio interface. It should now be receiving the feed from the artist's or client's audio console and mix position.
Help
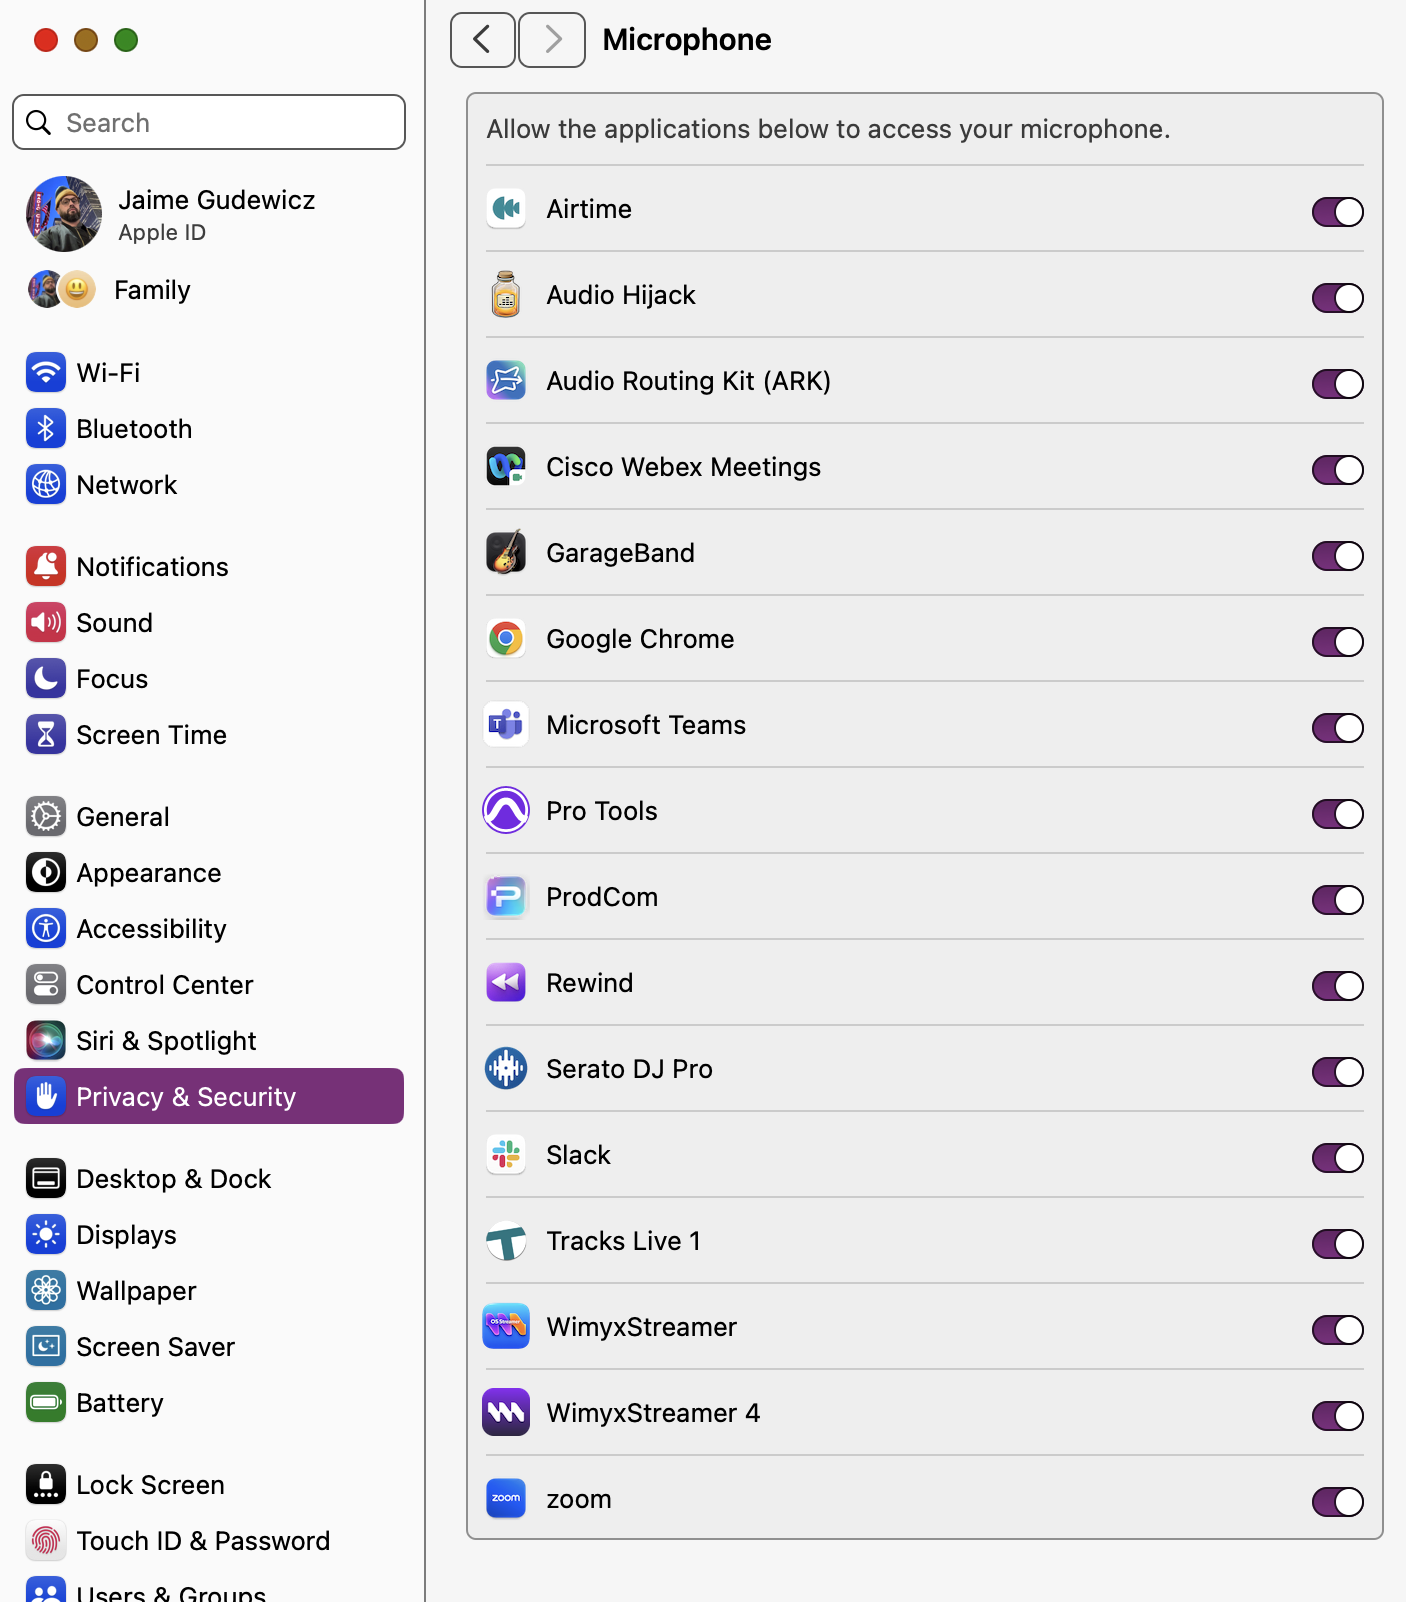
If the Streamer does not see audio input, it will direct you to System Settings on your Mac:
- 01Privacy & Security
- 02Microphone
- 03Enable the Wimyx Streamer
Review the Event Start Time
Fans may check in using the mobile app two hours before showtime listed here.
Example:
- 01If the show begins at 9:00 PM, location-based check-in opens at 7:00 PM.
- 02Begin the live stream at 8:45 PM sharp. Your instinct may be to start it any time within the two-hour window, but 8:45 is recommended.
All Wimyx in-app camera functionality remains locked until 15 minutes before the start time of the event. This should be the time the audio engineer is back at the mixing console.
Now you and your fans are ready.
Client Operating Wimyx
Wimyx (pronounced "we mix")
Decide: Is this a Soundcheck or a Show?
Check In Using Event Code
Check in using event code (provided via email or SMS).
Enabling Soundcheck Mode on Mobile
Done per phone, by the user.
Authorized users only:
- 01Grab your phone.
- 02Enter the event code. Do not use the My Location button to check in.
- 03When the event loads, long-press Check In and activate Soundcheck Mode.
- 04Camera opens.
Capture a Test Video
Head into the house and record using the Wimyx in-app camera in Sound Check Mode.
Important: Importing videos from your native device camera roll is disabled in Sound Check Mode. This is done to protect the artist. Do not use your camera roll — it is disabled during soundcheck.
- 01Stand near a speaker — make sure the room speaker level can be heard on the phone.
Exit Sound Check Mode on Mobile Device
Long-press and hold.
Once you have confirmed audio enhancement is working, exit Soundcheck Mode by holding the top middle of the screen (the name of the event).
Very important: Your soundcheck users will need to check back in for the show.
Sound Check Is Over
All sharing functions and save to camera roll are bypassed to prevent unwanted content leaving the room.
Show Time (Line Check)
Crew Line Check Into Show Mode
See companion doc: Wimyx Show Time v0.3
- 01Hold off until 20 minutes before the show start time.
- 02Check level.
- 03Press Record, then select Live Event.
- 04The clock will begin counting.
Monitor Cloud Sync
- 01Keep your eye on the blue cloud sync bar.
- 02During streaming, it should steadily climb to 100%.
- 03Real-time data displays in the Streamer.
Showtime: Time to Capture
- 01Enter the crowd (make sure your phone hears the audio — no headphones in).
- 02Use your native camera roll to film audience moments.
- 03Press Import from Camera Roll.
- 04Check that it enhances correctly.
Confirm the Stream is Hitting the Cloud
In the Studio Portal, under Event → Audio Streams, you will see the live stream displayed here.

Check Your Levels
- 01Every 10 minutes, check your feed.
- 02Avoid clipping — leave headroom on your preamp, and let the limiter do the heavy lifting when needed.
Stay Close
- 01Monitor cloud sync regularly.
- 02If anything stalls, you will want to catch it fast.
Don't Like Your Mix? We Got That Covered Too.
Go to Event
Open the Studio Portal and navigate to your Event.
Open Audio Streams
Within the event, select the Audio Streams tab.
Find the Upload Button
Locate the Upload audio button in the top-right of the Audio Streams panel.

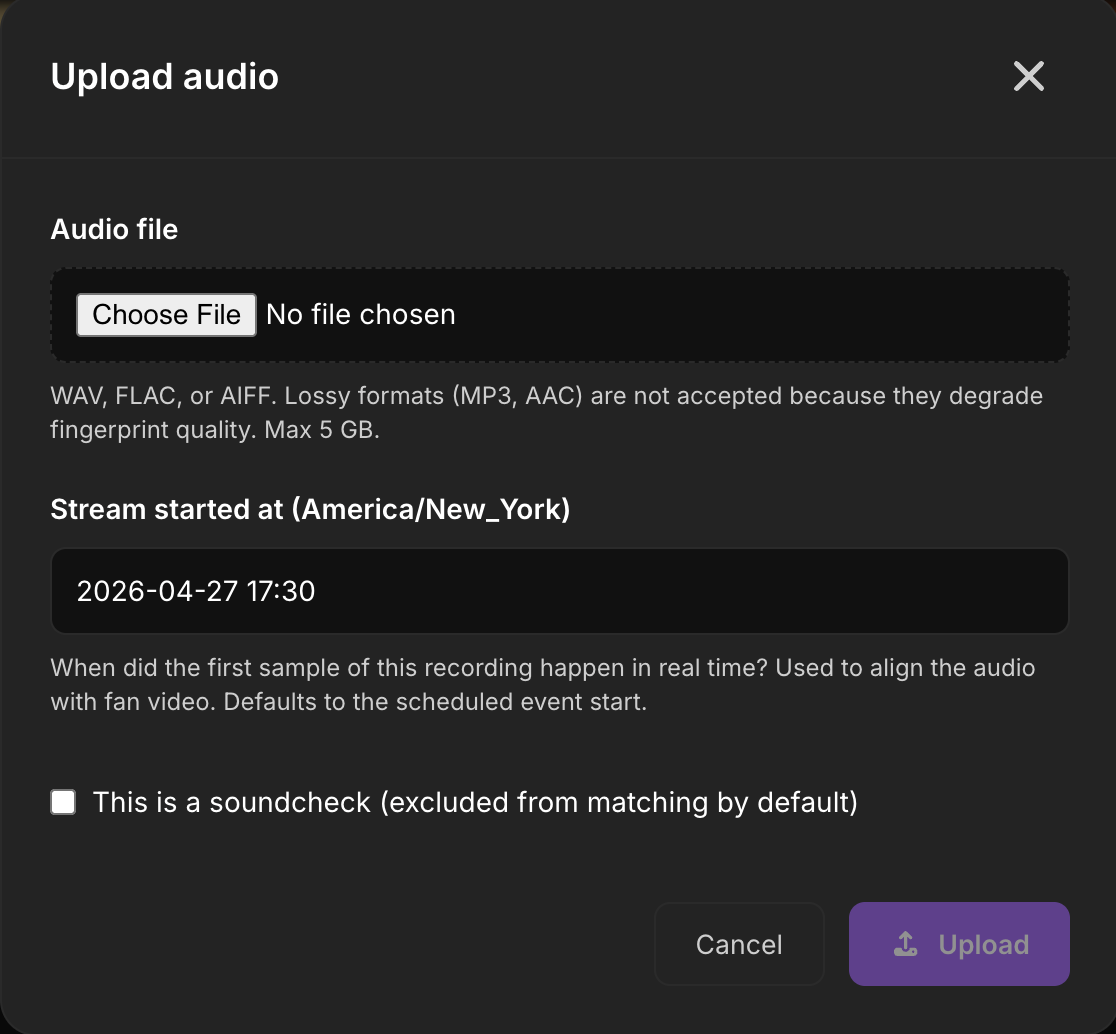
Hit Upload and Follow the Prompts
Click Upload audio, choose your file, confirm the stream start time, and follow the prompts in the dialog.
Wimyx Swaps the Mix — Protecting the Artist's Sound
Once you have remixed the show, Wimyx will automatically swap the mix across every fan capture — protecting the artist's sound end-to-end. We got you covered. ⚑ FLAG
That is your full Wimyx run-through. From setup to stream, you are now ready to help fans capture studio-grade moments — and help artists turn every live show into something bigger. ⚑ FLAG
END OF DRAFT v0.11.